
Dome Installation in 5 Steps: What Every Buyer Should Know
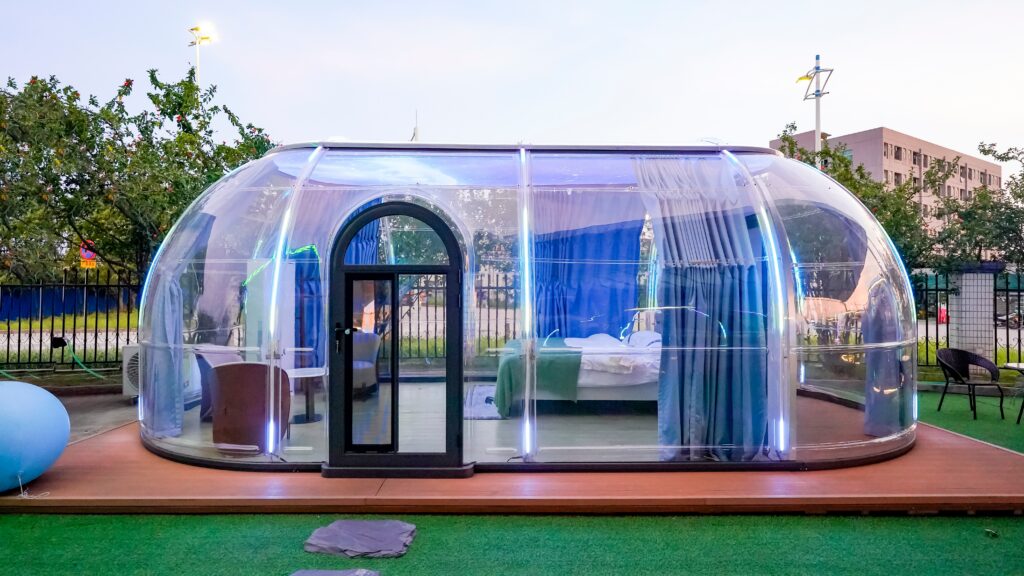
Most buyers overestimate installation difficulty. A 4 m dome with a level foundation is a same-day job for a small crew — no crane, no specialist contractor, no special tools beyond a socket set and a torque wrench.
That is the good news. The realistic picture is that installation quality still decides how well the dome performs for the next decade: how it seals, how it handles wind and snow, and how clean the finished interior looks. This guide walks through each of the five steps — what happens, who does it, what tools are needed, how long it takes, and the pitfalls to avoid.
Before You Start: Site Survey, Delivery and Permits
Planning work starts weeks before the first panel is lifted. Confirm three things early:
Site survey. Walk the site for slope, drainage and wind exposure. The base must be level — frame tolerances are tight, and every centimeter of slope at the foundation turns into hours of shimming later. Note the prevailing wind direction and the distance to trees and structures for clearance.
Delivery planning. Dome kits arrive flat-packed and heavy at the crate level. A 40HQ container holds 30 sets of the 4 m model, so a multi-dome order means planning unloading space and a dry storage area. Please confirm the final loading quantity with us for your specific order. Our container shipping guide covers crate dimensions and unloading logistics in detail.
Permits and local rules. Check whether your municipality classifies the dome as a temporary or permanent structure. Requirements vary, and it is far cheaper to confirm before ordering than to retrofit compliance.
Step 1: Build the Foundation
Three foundation options cover most sites: a wooden deck, a concrete pad, or ground screws. All three work — the right choice depends on soil, climate and whether the structure must be removable. Our foundation options guide compares them side by side, including cost drivers and preparation time.
Wooden deck. Fast to build, easy to level, and it gives the interior a finished floor with natural warmth. Allow one to two days for a 4 m deck with two people. Keep the frame clear of ground contact where possible to avoid rot.
Concrete pad. The most permanent option and the best choice for heavy snow load regions or commercial sites. Budget for formwork, pouring and curing — concrete needs roughly a week to cure before drilling anchor points, so sequence this before the dome arrives.
Ground screws. The fastest option: screw piles can be installed in half a day, work well on slopes, and leave no permanent footprint. Ideal for sites where the dome may move or where ground conditions rule out concrete.
Tools: level, string line, drill, anchor hardware. Crew: two people. The single non-negotiable requirement across all three options is a level base — verify it with a spirit level in both directions before the frame goes up.
Step 2: Assemble the Frame
The aluminum frame arrives in numbered sections, and assembly is a sequence of joining and tightening — not a puzzle. Lay the sections out in order, then connect them ring by ring.
Time: about two hours for a 2.7 m frame, rising to three to five hours on a 4 m or 5.1 m unit and five to seven hours on a 6.2 m. Tools: socket set, torque wrench. Crew: two people handle the smaller models; a 4 m unit is comfortable with three, and a 6.2 m unit with four to five.
What matters: follow the torque specification on every bolted connection — under-tightened joints loosen in wind, over-tightened ones stress the aluminum. Check the base ring against the foundation anchors as you go, and only begin panel installation once the frame is fully squared and level.
Step 3: Install the Panels
PC panels clip into the frame with aluminum profiles — no silicone, no glue, no cutting on site. Panels arrive pre-cut and pre-drilled; the installation is positioning, clipping and sealing.
Time: about two to three hours for the panel stage on a 4 m unit, part of the 3–5 hour shell build shown in the timeline below. Tools: socket set, sealing tape per the manual. Crew: two people — one to hold, one to clip, which is exactly why the lightweight PC panels make this a two-person job at all.
What matters: keep the protective film on the panels until the final step to avoid scratches during assembly, and seat the sealing tape cleanly along every joint. The seal quality you achieve here determines the dome’s weather performance for years.
Step 4: Doors, Windows and Interior Finishing
Once the shell is sealed, fit the door assembly, openable windows or vents, and any curtain tracks supplied with the kit. This is also the moment for interior work: lighting, power points and the interior lining or flooring you planned with the foundation.
Time: two to three hours. Tools: drill, screwdriver set, small ladder. Crew: two people.
What matters: test the door swing and window operation before finishing the interior — adjustments are easy now and awkward once beds and furniture are in place. Route any wiring cleanly and keep it clear of moving panels.
Step 5: HVAC, Sealing and Handover
Finalize climate systems and do the walk-through. Heating and air-conditioning units mount on the frame with the brackets supplied; position them so airflow is even and condensate drains away. Winter-proofing requirements — insulation layers, heated entry, condensation management — are detailed in a dedicated guide on this blog.
Finish with a full seal check: walk the dome inside and out, inspect every joint and penetration, and re-tighten anything that moved. Then remove the protective film from the panels, clean the surfaces, and hand over with a final inspection.
Time: two to three hours. Crew: two people.
Every STAR DOME project includes remote installation support — our team joins the first installation call to walk through the steps live. If anything is unclear on site, we are one message away.
Typical Timeline at a Glance
| Model | Crew | Shell assembly time |
|---|---|---|
| 2.7 m round dome | 2 people | 2 hours |
| 3.5 m round dome | 2–3 people | 3 hours |
| 4 m round dome | 3 people | 3–5 hours |
| 5.1 m round dome | 3–4 people | 3–5 hours |
| 6.2 m round dome | 4–5 people | 5–7 hours |
These are the shell assembly times published on each model’s product page, and they assume a level foundation is already in place. Add time for foundation work and curing, and for interior fit-out and HVAC — a first installation usually fills a full day even when the shell itself goes up in half of one. A spliced combination layout combines the shells involved, so plan the sum of those times plus extra for the connection between units. If you are deciding between sizes, the size selection guide and the 4 m product page will help you match the model to your site and crew.
FAQ
How long does it take to install a dome house?
A 4 m dome shell assembles in 3–5 hours with three people. The 2.7 m and 3.5 m models take about 2–3 hours, and the 6.2 m model 5–7 hours with four to five people. Add foundation work and interior fit-out on top, so allow a full day for a first 4 m installation.
Do I need special tools to install a dome?
No. A socket set and a torque wrench cover the frame and panels; a drill and screwdriver set handle doors, windows and finishing. No welding, cutting or specialist equipment is required.
How many people are needed to install a 4 m dome?
Three people are comfortable for a 4 m dome. Two can manage the smaller 2.7 m and 3.5 m models, while a 6.2 m unit is noticeably easier with four to five, mainly for handling the larger frame sections and panels.
Can the dome be installed directly on grass or soil?
No — a level, load-bearing base is required. A wooden deck, concrete pad or ground screws all work; the choice depends on your soil, climate and whether the dome needs to be removable. The foundation options guide compares all three.
Ready to start your dome project?
Talk to our engineers or download the full product catalog first.
Related Posts
 13
Oct 2026
13
Oct 2026
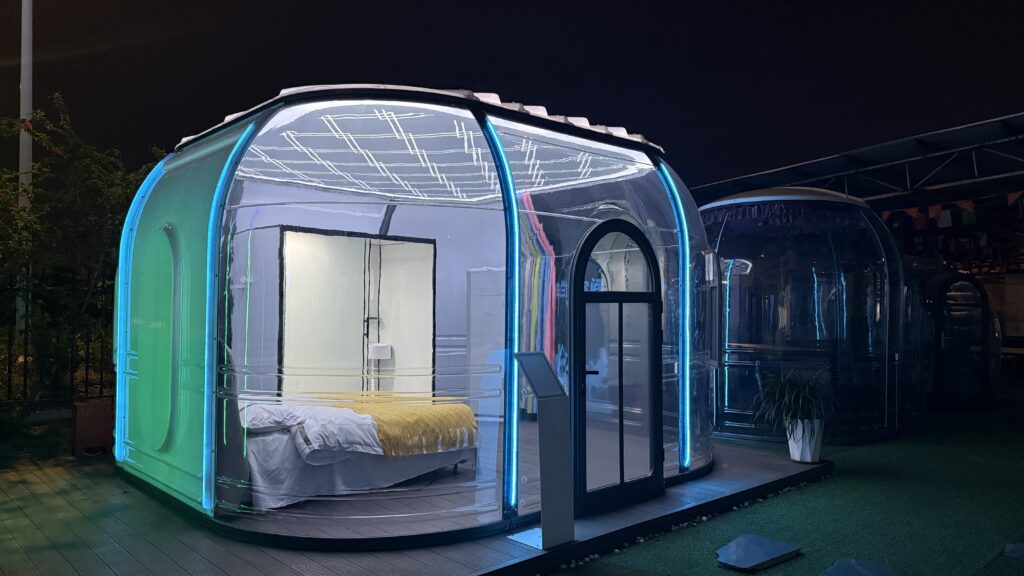
PC Dome vs PVC and Canvas Glamping Tents: A Buyer’s Material Guide
PC dome vs PVC and canvas glamping tents: how the shell material decides lifespan, clarity, weather resistance and what you can build.
View More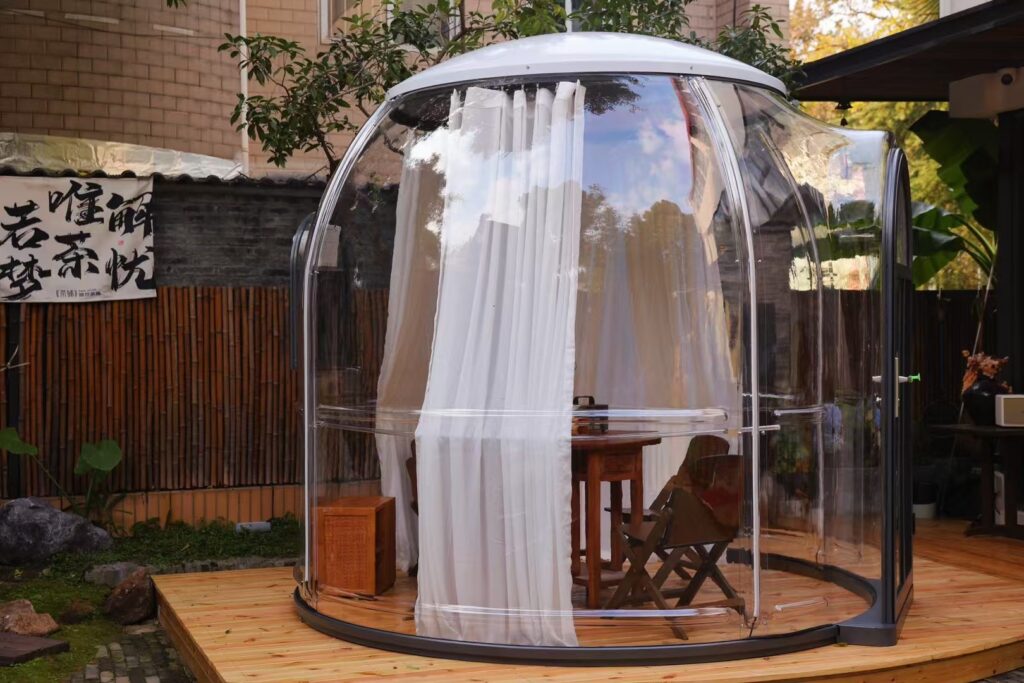 29
Sep 2026
29
Sep 2026
Dome House for Backyard Glamping: How to Plan Your First Unit
Dome house for backyard glamping, planned properly: right size, level base, power, heating and what one unit needs before delivery day.
View More